Here is one of my original projects. My husband and I purchased our first home this year. In haste, we bought a brand new home that was not entirely to our liking. We promptly ripped out all the carpet (which was brand new - yea I know we are crazy), and put down our own hardwood floors. We also knocked down some walls to expand the loft area into a 4th bedroom that we didn't need to make a very large entertainment area (or as my husband likes to call it - his "man room"). We also built a wall to expand our kitchen and installed cabinets and counters. Let's just say that if we can feasibly do it ourselves, we aren't hiring anyone else to do it for us. It has been quite an adventure.
Anyway - back to the point. For this "man room," we needed an area to display bottles, glasses, etc. We wanted a rustic type theme for the room and we had a bunch of pallets sitting outdoors. Pallet projects seem to be all the rave, so I made my own.

While I didn't have the foresight to do a step by step photo set. The project was very simple.
1. Orient the pallet the way that you want it. All pallets are different so find one that has the wood panels spaced the way that you prefer for your purposes, that way you don't have to do any cutting or nailing to do.
2. I used a dark wood stain and an old cloth and I rubbed the stain all over the pallet. I did not paint it and I was not going for full coverage. You can see areas where the stain is not quite even giving it an aged appearance.
3. The last step: For the lighting, I used rope lights and placed them so that they were positioned down the slats in the back. I used nails and bent them with a hammer so that they curved over the rope without piercing it. Aaaannnnd.....that is it! Simple!
Here it is hung on the wall.

Some detail shots.


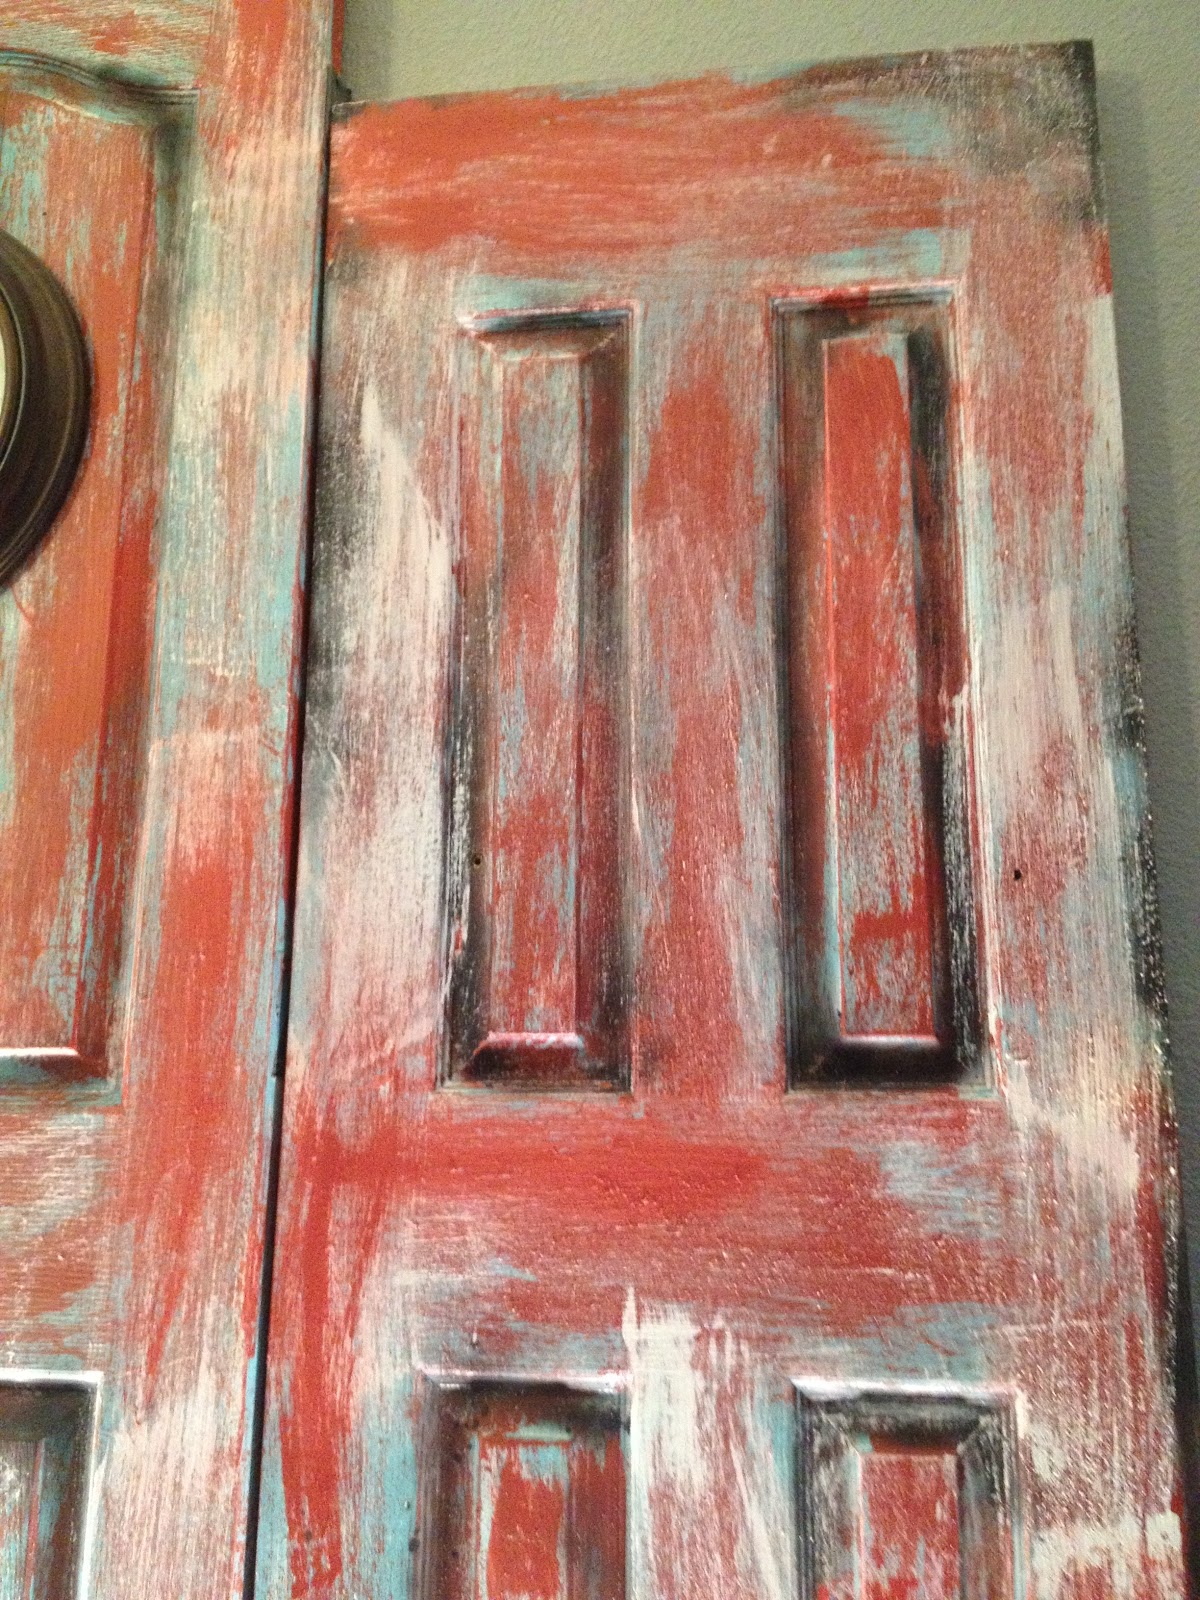
A second project for the same room was turning three doors that I had laying around into a background for our bar. Two of the doors were closet doors and one was a door to a room. My husband knocked down the walls of the former bedroom to which these doors belonged to expand the upstairs loft for the "man room."

Basically I took plain white doors and painted them a base color unevenly (I chose blue), I then went over this with a red color I had laying around, the brush I used was old and therefore made very uneven strokes. I did the same with white in certain areas. Lastly, I took some spray paint and darkened some of the already existent grooves of the doors. I did all 3 doors in less than 1 hour.

I added lighting to the doors by simply attaching a clip on desk lamp ($9.97 at Walmart). To the bottom of each of the doors. I tucked the cords behind to doors to hide them. Here is a close up of the light.

So, that's it for today. You really can create a cool space on a small budget.
No comments:
Post a Comment